How to create an avatar from a selfie and upload it to VRChat with Unity
We get many questions about whether an Avatar SDK generated model can be uploaded to VRChat. Yes, it can! While we are still working to make the export automatic, here is the instruction that will help you to manually create a VRChat avatar from our Unity plugin.
As VRChat is being developed in Unity, its avatars require the Humanoid rig to be animated correctly, so you will need an Avatar SDK full body avatar. To achieve the highest performance VRChat provides additional constraints to avatar models. We will set appropriate parameters to generate suitable avatars. For the sake of simplicity, we will use the fullbody export sample cloud scene from our Avatar SDK Unity plugin to generate an avatar.
Generating avatar
As was mentioned earlier, we will generate a full-body model in the FBX format with the LOD parameter set to 4 (due to VRChat polygon number restriction). We also will select a set of blendshapes compatible with VRChat (visemes_15):
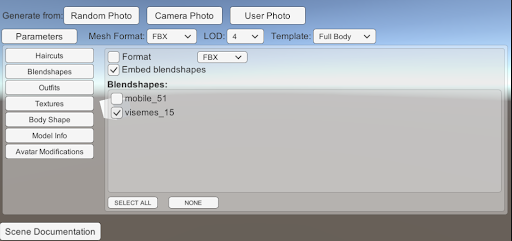
It is better to choose one of “lowpoly” outfit versions as it has a lower number of polygons:

Now we are ready to create an avatar. Choose one of three available options: Random photo, Camera photo, or User photo. The result of avatar generation – our FBX model – will be used in the next step.
Setting up the model and SDK
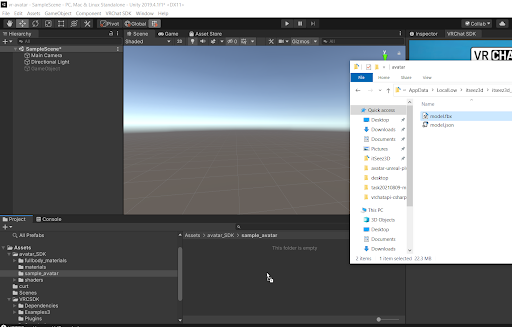
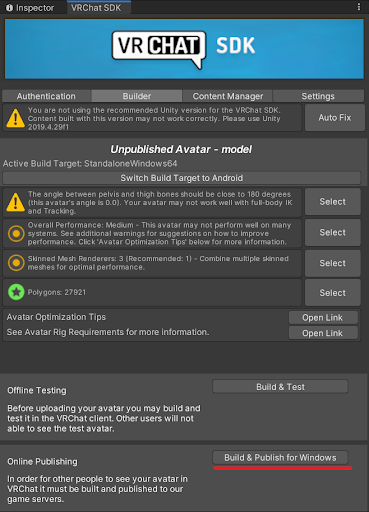
VRChat provides the SDK for uploading custom avatars from Unity. We will use the version 3 of SDK to upload our model to VRChat. Please note that the SDK is intended for a specific version of Unity. If you use any other version, the following message will appear:

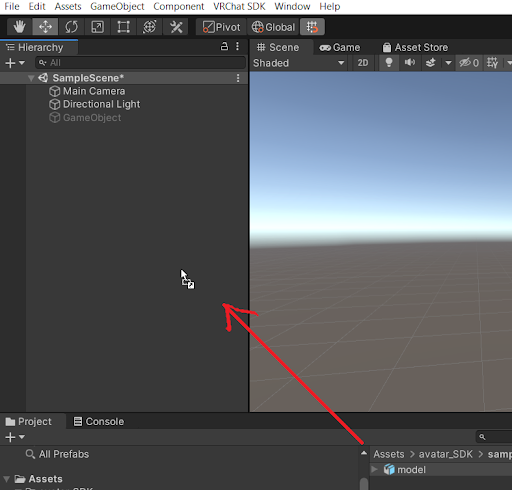
This article describes how to set up the project with the SDK. When the SDK is set up, import the FBX model prepared on the previous step by simply dragging it to the Assets folder (or any subfolder).
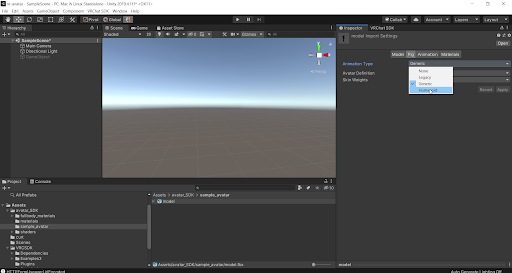
Now let’s set up the imported model. First, select the “Humanoid” rig in the “Rig” section.
Extract textures and materials in the “Materials“ section.

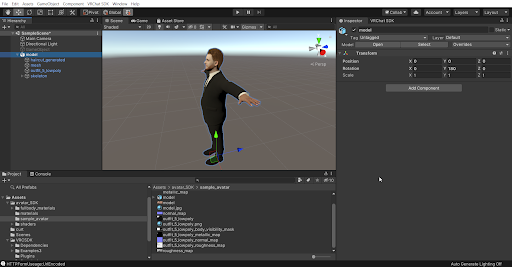
Then instantiate the “model” prefab by dragging it to the scene.
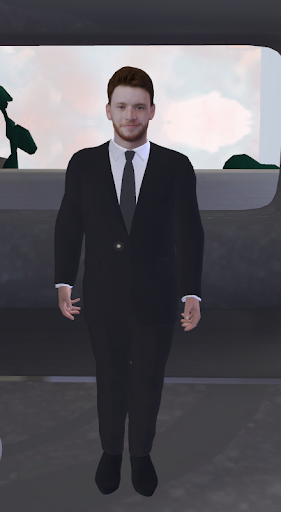
The result should look like this:
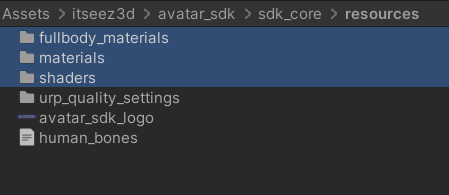
We strongly recommend using materials and shaders delivered with Avatar SDK plugin to achieve the best look of avatars. You can simply copy the following resources to your project:
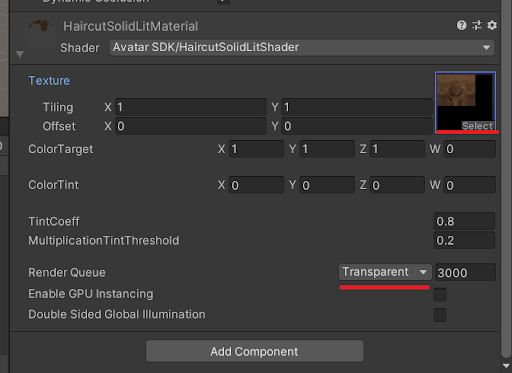
For the avatar haircut we will use HaircutSolidLitMaterial: select the haircut mesh and drag the material to an appropriate slot:

After that, you will need to set the texture parameter value and the “Render Queue” parameter value to “Transparent”.
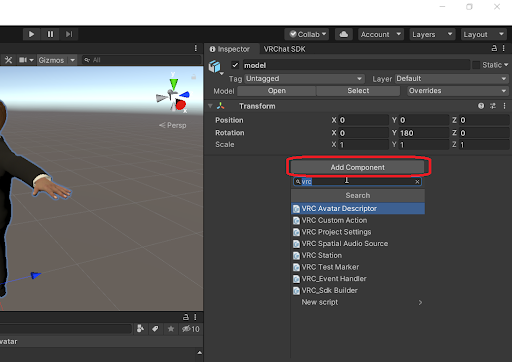
Now we need to attach the VRC Avatar Descriptor component to our model object so that VRC SDK can recognize it as an avatar.
Press the “Auto Detect!” button in the Lip Sync section:

… and follow to the VRChat SDK tab where a couple of warnings will be: those could be easily fixed by pressing “Auto Fix”.

Now everything is ready for uploading the avatar. Press the “Build and Publish for Windows” button,
… fill your avatar name and description at the opened scene, then select the checkbox which verifies that you own rights to the uploading model and click “Upload”.

Congratulations! Your avatar is ready to be used in VRChat!